
I love the look that debadging gives a truck. It can make it look a lot sleeker and also make cleaning so much easier as you won’t get wax and debris stuck in the badge. But the actual process of doing so is something that you’re going to get plenty of different opinions on, and some of the videos I have seen on YouTube give out some really bad advice.
If you want to know how to debadge your truck the best way, and are prepared to take your time, using the right materials and tools, with a reduced risk of leaving any marks or scuffs, then this is the best truck debadging method to follow. I guarantee you that – it’s based on experience.
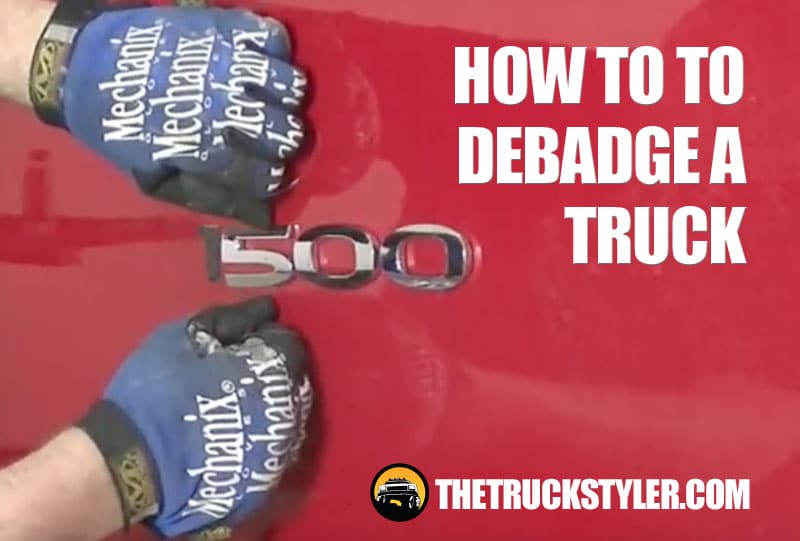
How to Debadge Your Truck the Best Way
To get started, simply follow the steps below for a simple, quick, and risk-free and best method removing truck badges. Here’s what you will need, some of which you probably already own.
What You Will Need
- Hairdryer or cheap heat gun (view on Amazon)
- Adhesive remover spray (view on Amazon)
- Pack of microfiber towels (view on Amazon)
- Specialist automotive liquid car wash (view on Amazon)
- Synthetic polymer automotive wax (view on Amazon)
- Dental floss or fishing line
- A couple of clean sponges
- Bucket of warm and clean water
Before we start, you need to figure out how your own truck’s badges have been attached and stuck to your pickup’s bodywork.
Most pickup truck badges and emblems are stuck on using an a nasty adhesive. But yours could be attached using clips or rivets that pass through the bodywork instead.
This guide only tells you how to debadge a truck with badges and emblems stuck on with adhesive.
If your badges use rivets passing through the metalwork, then it’s going to involve filling of holes and re-painting. This guide won’t tell you how to do that.
This is the easy way on how to debadge a truck so you don’t get left with any marks or scratches once the adhesive has been lifted and completely removed.
Step 1: Loosening Up the Adhesive Glue
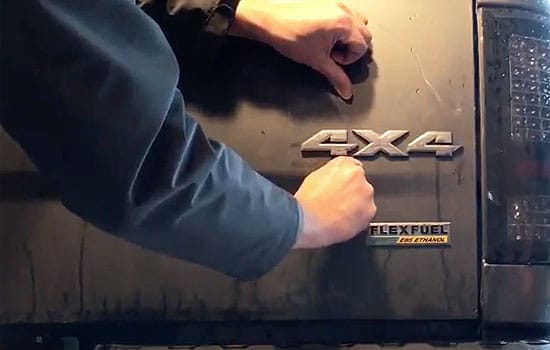
Some truck badging will be made from just one badge, whereas other trucks have the letters stuck on as individual badges.
If you are dealing with individual lettering, each one will need to be loosened and removed one at a time.
To get the badges loosened up you can use different methods, or perhaps a combination of them all – what we’re looking to do here is heat up the adhesive as that will make it easier to lift the badges off the bodywork.
I’ve heard of people pouring hot water over the badge (not boiling water as it can damage your paintwork). I’ve tried that myself, but it doesn’t work too well with truck badges that have been on for years. It just won’t heat the glue up enough to get it loose.
Instead, the best way to debadge truck emblems is by starting with heating up the adhesive using either a hair dryer or a cheap heat gun.

I use a heat gun myself (view prices on Amazon) as I also use it to remove vinyl decals. It offers much better results – plus it is easier to use due to the variable temperature and speed settings.

No matter what you use to heat the adhesive, you will need to apply an even and steady heat on a high temperature setting. Make back and forth motions from about an inch away over the truck badge that you want to remove.
Handy Hint: Don’t get too close, about an inch away is just right. If you go right up against the badge you could run the risk of the paint bubbling up.
The key here is to take things slowly and conservatively.
You will know that you’ve heated it up enough when the badge starts to wiggle around a bit and twist in your thumb and finger. When it does this, the adhesive or glue has softened enough and is loosening away from the truck paint.
Step 2: Removing the Truck Badges
If you are dealing with small individual lettering, they might come off in your hand. But I don’t advise you start peeling them off manually like that, as it can damage the paintwork.
Instead I prefer the method where we cut through the heated adhesive glue behind the loosened badge using some dental floss (or some fishing line).
Taking your floss or line and wrap it around the index fingers on either hand. You then slide it behind the badge, pull tight, and use an up and down “sawing” motion.
With a little bit of concentration and a few goes, you should be able to completely saw through the adhesive and separate the badge away from the glue.
If you’re finding that you can’t cut through the adhesive using dental floss then it’s probably down to the adhesive not being warmed up enough, or it’s cooled down since you use the heat gun.
Run your heat gun or hair dryer over the badge again from step 1, and eventually you will be able to debadge your truck using this safe method.
The badges will come clean away and won’t be damaged if you do this correctly following my instructions above.
But, you’re still going to have some of that nasty double-sided adhesive residue and marking left behind, but don’t worry as in step 3 I am going to tell you how to remove that without leaving a mess or any evidence behind.
Using a Plastic Wedge or Credit Card
If you don’t have any dental floss to hand, then alternatively you can try using a plastic wedge or credit card to get underneath the badge.
Find a small gap, slide a bit of the plastic in and start to work uniformly around the badge, prying bit by bit.
Using a plastic wedge or credit card will work, but you might end up snapping the badge apart. If you want to keep it or sell it on, you don’t want to do that!
If you’re too heavy handed, you can also damage the paintwork on your truck whilst wedging plastic under the adhesive.
For these reasons, the dental floss method is the preferred approach. It’s fiddlier for sure, but worth it in the long run to prevent damage and marks.
Step 3: Removing the Remaining Glue and Adhesive
We’re not finished yet, as you’re still going to see adhesive residue left over on the paintwork.
I find that I can roll a lot of the residue off just by using my fingers in a gentle up and down motion, or even by picking at it lightly with my fingernails. But even after that you will still have some mess left on there.
I remove what I can manually with mu fingers, and with what’s remaining use an adhesive remover specifically designed to take glue off truck paintwork.
The safest and most reliable adhesive remover I have found is called Goo Gone and has never damaged any truck paintwork I’ve used it on.

Spray a little bit onto the adhesive marking that was left under the truck badge and then usomg a clean microfiber towel, working in circular motions.
Handy Hint: You can see my recommendations for a microfiber towel that works great on truck paintwork higher up the page in the “what you need” section.
You won’t need to use a lot of Goo Gone and take special care to only spray it on the affected area.
With a little elbow grease, the microfiber towel and Goo Gone should remove most of the excess residue left over from debadging your truck.
Step 4: Clean, Wax, and Buff Up
There’s probably still going to be a little bit of evidence left over from where the badges used to be.
This last step in how to debadge a truck will let you get a clean and polished finish, with no sign that your truck ever had badges on in the first place.
Get a bucket of warm and soapy water. Then use a clean sponge to get any remaining adhesive off that still could be there. We do this because we don’t want to apply wax over any remaining residue, as it will seal it in.
Handy Hint: Don’t use dish soap as it can remove wax. Instead use a specialist automotive truck wash soap such as Turtle Wax car wash.
Once scrubbed and completely clean, rinse off with clean water.
Let the paintwork dry out, wiping with a fresh microfiber towel to make doubly sure. It might even be worth letting the affected area air dry for an hour before you apply any wax.
Once dry, and also making sure that the area is not still warm from the heat gun or hairdryer, you can wax up where the badges used to be.
The wax that I use is Meguiar’s Ultimate Liquid Wax. It’s a pure synthetic polymer wax, doesn’t stain, and always gives me a really good mirror-like finish.
You will only need a small dab of wax (the Meguiar’s pack comes with a small applicator pad and cloth), and you can then use circular motions to rub the compound in.
Handy Hint: Only ever apply wax to your truck when not in direct sunlight. It will work a lot better in a cool and shaded place and give better results.
Make sure to rub the wax into the paintwork evenly and use it sparingly, you honestly won’t need to use a lot.
Once the wax has completely dried you can buff it off. You will know that it’s dry if you can run your finger through it and get a dry residue coming away.
Taking a new, fresh and clean microfiber towel, buff the waxed area using circular motions again until all of the waxy residue has disappeared.
You’re now completely done, and that’s how you remove truck badges easily and cleanly.
What is Debadging?
The process of removing truck badges is almost as old as trucks themselves, and involves taking off the manufacturer’s emblems, logos, and badges from the vehicle.
Areas that badges can be removed from include the bodywork, side panels, doors, rear, and front grille.
Should You Debadge Your Truck Emblems?
Deciding whether or not you should go through the debadging process is entirely personal, with most truck owners doing it because they prefer the clean and sleek look that it offers.
It can also make the truck easier to clean, as you won’t get wax trapped into the small crevices that are in the 3D design of truck badges.
You might also not want to advertise the manufacturer, so removing your truck’s badges is one way to not be a driving advert or billboard for your particular brand.
However, there are even more reasons both for and against debadging. If you are stuck in making your final decision, go take a look at these reasons from both sides of the argument.
Conclusion
I hope that you have found this guide on how to how to debadge your truck useful, and it serves as your blueprint for a successful debadging project.
It could be your first step in modifying and customising your pick-up truck to your own preferred spec and look.
I honestly believe that this is without doubt the easiest way to debadge a truck – here’s some additional advice on removing truck decals.
I’ve used this method on five different occasions, each time with outstanding results. I’ve never had it not work for me, and never left any scratches, glue, or faded marks where the badges used to be.
If you enjoyed this guide and it worked well for you then please pay it forward and share on your social media networks. You can use the social sharing icons that are at the top and bottom of any of the guides found on the The Truck Styler website.